|
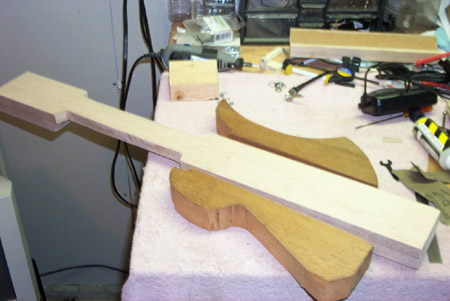
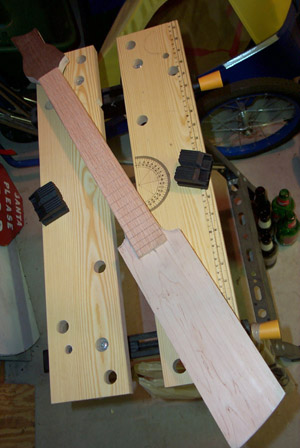
The story behind this guitar is that I wanted to build a guitar and not spend a lot of money. At the time I didn't have much experience, so I tried to keep things simple. It started with some left over cedar from remodeling my house, and 2 pieces of 4 x 3/4" maple from the local lumberyard. I cut out the body sides, and glued the 2 maple pieces together to make a piece 1-1/2" thick, which became the neck. I also rough cut out the body wings, and the neck. Here's a pic of these parts laid out. For the body design, I decided to copy the BC Rich Mockingbird. I owned a Mockingbird, and it was a beautiful guitar that played and sounded great. It was stolen from me 20 years ago, and since I built this guitar, I got the original Mockingbird back. It's fun to compare the 2 guitars... anyway, on with the project... |
|
|
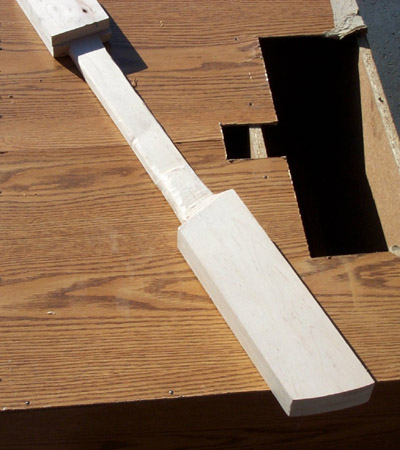
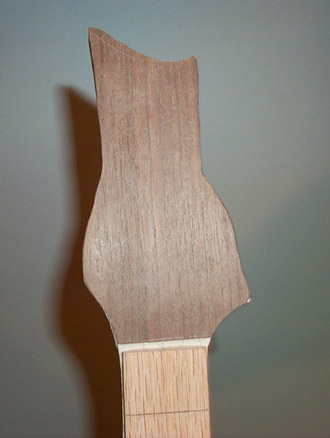
Here is the back of the neck. |
|
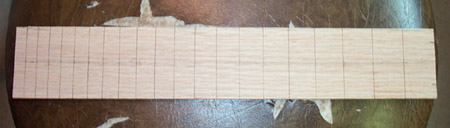
Next, I slotted the fretboard. The fretboard is a $3 piece of oak that I bought at the local home improvement store. I used a miter box to cut the slots straight, and a caliper to mark where the slots should be. It was very tedious. I buy my fretboards pre-slotted now. |
|
|
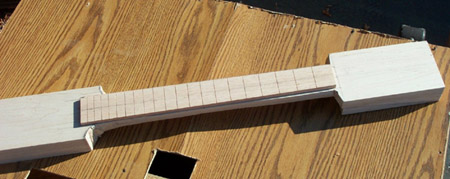
Here is the trimmed fretboard laying on the neck. |
|
This is a shot of the body after making the cuts around the body/neck joint, and the end of the body. |
|
|
Here a picture of the headstock, it's an unusual shape becasuse I didn't follow my original lines closely enough when I cut it out. I also cut outside the lines to leave some room for error. There is a piece of walnut veneer on it. |
|
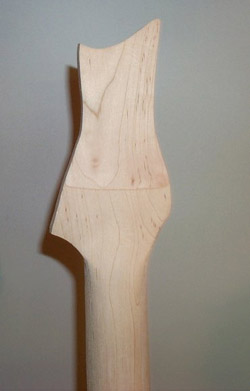
Here is a shot of the back of the neck after shaping. I did most of the shaping before gluing on the wings. |

|
|
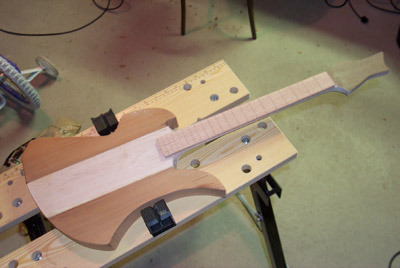
Here is the front of the guitar after the wings are glued on, and the rough body shape is cut out. Still a long way to go. |
|
Closeup of the back of the headstock. You can see the line where I glued the 2 pieces of maple together. |
|
 |
Pic of the front of the guitar after the frets are in, and some body shaping done. |
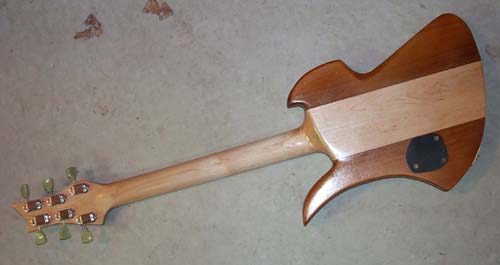
| Back of the guitar. It's starting to look like a guitar anyway. |

|
|
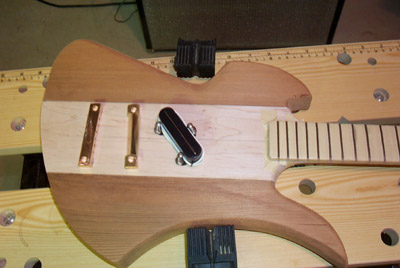
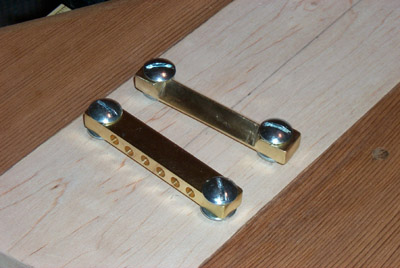
Here is the bridge I made, and the tele pickup I was going to use laid out on the front of the guitar. I later decided to use a strat pickup instead, as it would be easier to switch out pickups if I wanted. |
| Closeup of the bridge after installing. |
|
|
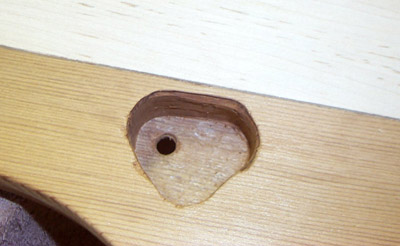
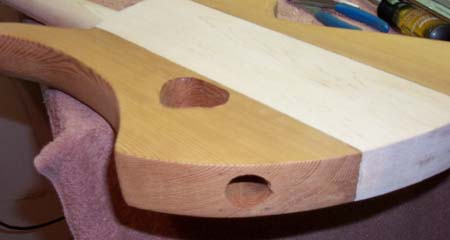
Here is the control cavity routed. I drilled the hole for the volume first, then I used a drill bit to remove most of the wood, then a dremel to clean it up. |
| Here is the output jack hole. I just used a 1" bit, and a hand drill. |
|

|
Here is the finished guitar front... |
| And back ... |
|