|
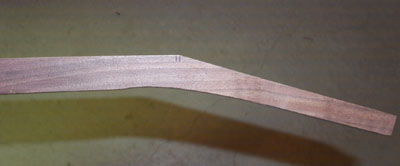
It started with a block of wood, squared up as best I could(no jointer then), and I cut the angle for the headstock, and body, and glued on a piece to support the fretboard. Here's a couple of pics: |
|
|
|
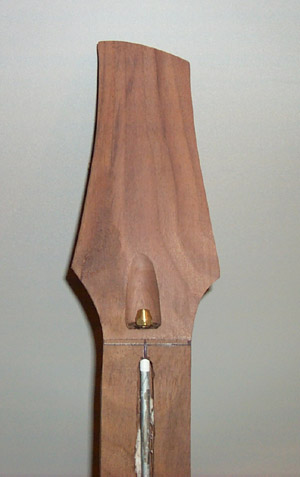
The silver was my attempt to mark the center line with a silver marker so it would show up on the dark wood. It didn't work very well. |
|
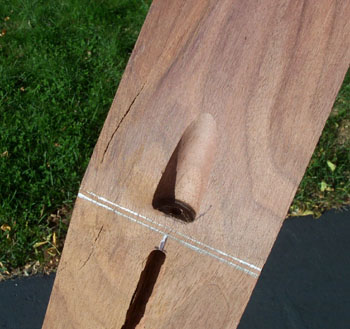
Next, I routed the truss rod slot, and opened a hole in the headstock for the adjustment nut. I used a dremel to rout the slot(not a good idea - use a real router) There is a crack in the wood on the headstock I would later have to fix. The marks are where the nut will be. |
|
|
Here is the side of the headstock after cutting out the shape of the neck. The marks are where the nut will be. |
|
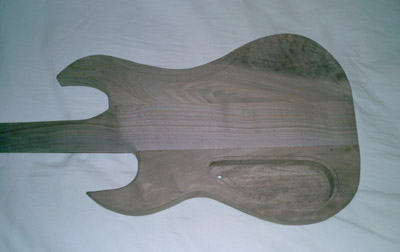
This is a shot of the body, there is a flaw in the wood near the body/neck joint. I later removed enough wood that it was no longer an issue. |
|
|
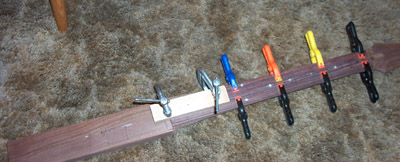
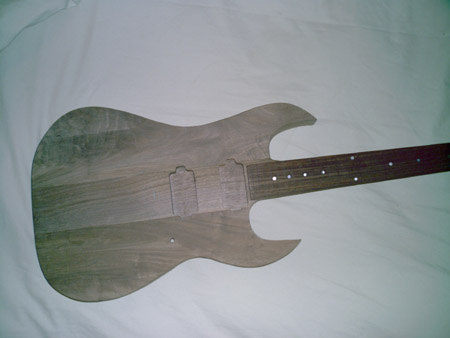
Here the rosewood fretboard is glued to the body. This is the minimum number of clamps I would recommend using. Since this pic was taken, I have discontinued using these type of clamps, and started using mini bar clamps instead. |
|
I glued and clamped one wing at a time on the neck, it's OK to do both at once. |

|
|
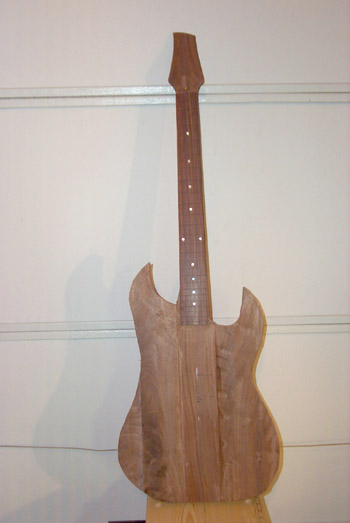
Here is the front of the guitar after the wings are glued on, and the rough body shape is cut out. Still a long way to go. |
|
Closeup of the headstock. You can see the teflon tape around the truss rod. Also, I tried to repair the crack with glue and wood chips. I would later cut it out, and replace a piece on the headstock. |
|
|
The control cavity routed. |
|
The pickup cavities routed. I used a 12" long 3/16" drill bit to drill the connecting holes. Make sure you drill a hole to run a ground wire to the bridge. |
|
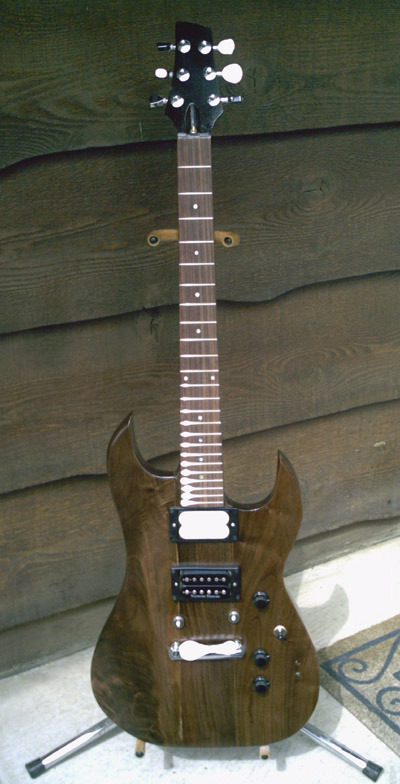
| Finished guitar. |
|